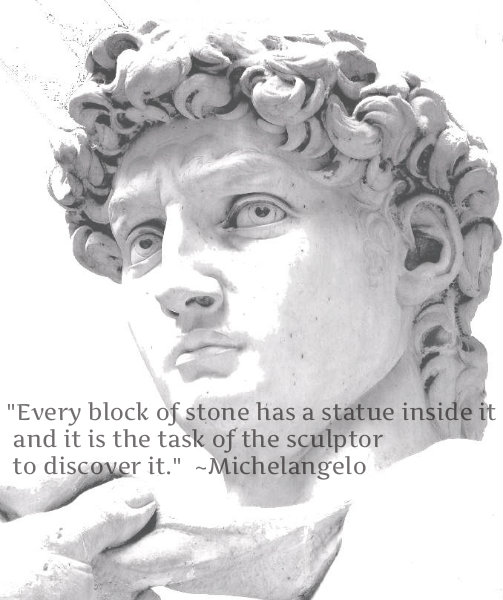
 Since prehistoric times, artists have sought to set free the images that they see trapped within stone. The methods they use have evolved over the centuries but, the basic process stays the same – the artist must remove the unnecessary material. It is a process of elimination.
I think Auguste Rodin said it best… “I choose a block of marble and chop-off whatever I don’t need.”
Step One: The first step is to obtain tools, equipment and personal safety gear. Although, having the right tools is very important, one doesn’t need to spend a lot of money to begin.
- a mallet
- chisel
- a few rasps
- and files
These hand tools have changed little since ancient times and many of the greatest marble masterpieces were created with nothing more. However, modern power tools can speed-up the process…
- I use a combination of pneumatic and electric rotary tools (with diamond accessories) as well the traditional tools.
- Some items at the top of my “wish list”, include a pneumatic hammer and chisel set (about $500) and a ring saw, for making deep cuts on large boulders/blocks (about $7,000).
I am currently working in a home-based studio (my garage) and it is far from ideal; I don’t have running water, an overhead crane, or a good ventilation system. Eventually, I’d like to move into a larger, industrial type setting where I could more easily work on monumental scale projects.
Step Two: Choosing a stone is the next step. Ideally, the sculptor will go to a quarry or the warehouse of a stone distributor and look around until a stone speaks to him. Sometimes, a rock will speak to the sculptor, but, they won’t know what it is saying… in that case, the sculptor should take it home and study it.
- Let the stone dictate the subject matter
- Do not try to force it to be something it was not meant to be.
However, at this point in my career I have to buy most of my stone un-seen, because there are no quarries or distributors nearby. I buy most of my stone (and tools) from Neolithic Sculpting Stone: http://www.neolithicstone.com/ They are a major distributor located in Vancouver. I know that I can trust them to provide good quality stone at a competitive price. If I need a specific type, shape and size for a commission, I know I can rely on them to find me something suitable.
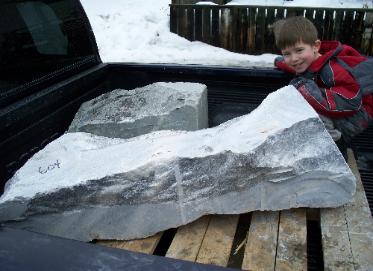
I usually order at least a ton at a time. For me, the day that a stone shipment arrives, is like Christmas morning for a child. I typically set aside the best specimens for my own sculptures, keep some for making bowls and other functional items and sell some to other local sculptors and local art-supply stores. In general, I think sculptors should buy the best quality stone that they can afford.
Step Three: I like to have a clear vision in my mind of what the final form will be, before I begin. Some stone sculptors start chipping away without a clear idea of what the finished sculpture will look like; theirs is a true voyage of discovery and evolution.
- If it is to be a representational sculpture, I often do some sketches to use as reference material before beginning the actual carving, especially if it is a subject that I haven’t carved before or if it is a major project.
- This helps to cement the image in my mind, and work-out the relationship between the negative and positive space.
- Before I begin carving I also study the stone, carefully… I look for fractures and other flaws that could cause problems and decide how to best highlight the natural beauty of the stone while staying true to my vision of what the final form should be.
There is still one more thing that I need, before the actual carving can begin; and that is courage. All art forms require courage, but, I think this is especially true of stone sculpting because of its permanent nature. The more valuable or beautiful a stone is, the more intimidating it may be. Once one removes stone, one can’t put it back…
Step Four: The techniques, tools and equipment that I use vary, depending on the size and type of stone that I’m carving. I’ve worked on everything from tiny gemstone specimens to a block of marble weighing over a ton. Some tools work great on soft stones, but are useless when carving harder stones such as jade.
- When carving hard stone one needs to use diamond tools and preferably, one should “work wet”.
- Water should be used because otherwise the friction will cause a lot of heat that can damage both the tools and the stone.
For small blocks under 100 lbs and for naturally shaped stones up to several hundred lbs, (that don’t have much surface area in contact with the work table), I use sand-bags to brace the stone and hold it steady, because it helps to have both hands free to hold tools. For very small stones, one can either put the stone in a vise, or, hold the stone in one hand and the tools in the other, or, use table tools that are attached to the workbench so that one is holding the stone, rather than the tools.
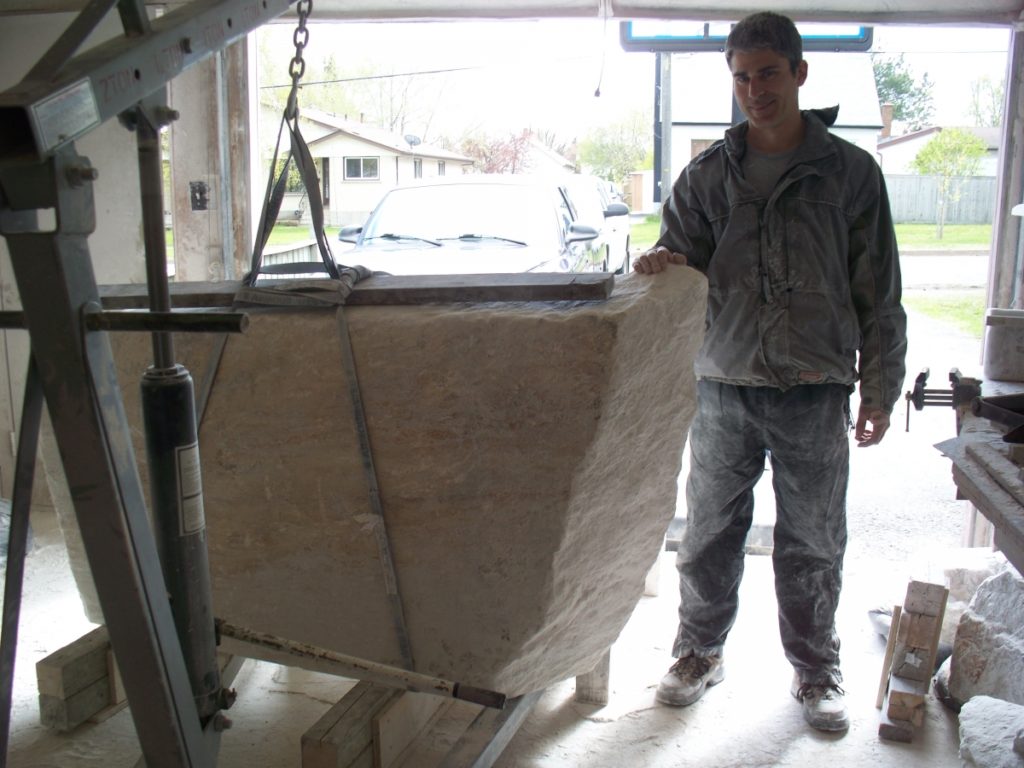
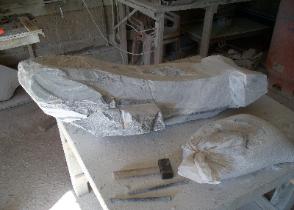
When carving a large sculpture (that starts from a boulder or block weighing over 100 lbs), I typically start the “roughing-out” with a 14” diamond blade mounted on my hand-held, electric, circular saw. I use this to “chop off”, off as much as possible, so that I will have some small pieces left-over that I can either sell as raw stone or make small sculptures or functional items out of. This saw can cut up to 5½” deep; for cuts deeper than this I must flip the stone over and cut from the other side as well, and/or use a mallet and wedges to split the stone.
This powerful saw really makes the dust fly and even with my dust collector running, a thick cloud quickly forms… so thick, that it becomes difficult to see. Although, my half-mask respirator protects my lungs, and I also wear a face shield, the dust is still hard on my eyes; another item on my “wish-list” is a fully enclosed facemask respirator combination.
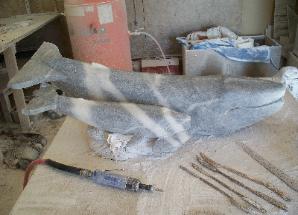
Once I have done all that I dare to do with my large saw, I switch to pneumatic and electric angle-grinders, with 5” diamond blade/faceplates that can be used both for cutting and grinding. At this point I often start using a mallet and chisels as well; I will make a few parallel cuts spaced less than an inch apart and up to a couple inches deep and then use a chisel to break off little slabs. I also use diamond “cup-wheels” which are mounted on angle grinders, for heavy grinding of the stone. I currently have three shapes to choose from; a convex wheel, a cone/bullet and a ball.
Step Five: After I have achieved the rough shape that I want, I switch to smaller tools to refine the shape and/or add details. These include die-grinders with diamond “point”, accessories, smaller chisels, diamond rasps and files. These smaller power tools and hand-tools offer more control and precision and they are able to reach into smaller, recessed areas. The rasps are used to remove any high/low spots left over from the grinders and chisels. Files are used to remove the deep gouges left from the rasps.
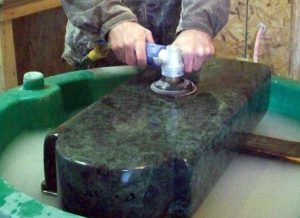
Step Six: Some sculptors prefer to leave their sculptures, or portions of their sculptures, with a rough texture, or perhaps some portions might even be left with a naturally weathered surface. However, if a glossy/shiny, smooth surface is desired, then sanding is necessary.
Like most stone sculptors, I have a love/hate relationship with the sanding process; I love it because this is when the natural beauty of the stone is fully revealed in all its glory. However, it can be tedious work and I have sanded till my fingers bled on more than one occasion. Wet sanding is usually preferable. I use a variety of sanding accessories and techniques, depending on the size and type of stone, but, I most often sand by hand using standard wet/dry silicon carbide paper that can be purchased in any hardware store. If it is a small sculpture or bowl I usually sand it in/beside my laundry room sink. For larger sculptures I work in my studio, filling a large, plastic sandbox (the type that kids play in) with water.
Leonardo once said, “Art is never finished, only abandoned”.
However, when I decide to stop sanding and polishing a sculpture, it is not yet time to abandon it…
Step Seven: The next stage is marketing. Photos need to be made and posted on my website, social media pages and group sites. Perhaps, e-mails will be sent to potential buyers. Maybe, it will be delivered to a local art gallery.
Step Eight: If it is a commissioned sculpture for an out-of-town customer, careful packing might be required. If it is a large sculpture, I may need to build a crate and make shipping arrangements.The final parting of ways can be bitter sweet; on the one hand I am very grateful that someone liked my artwork enough to buy it, but, on the other hand it can be sad to part with something that you have put your blood sweat and tears into.
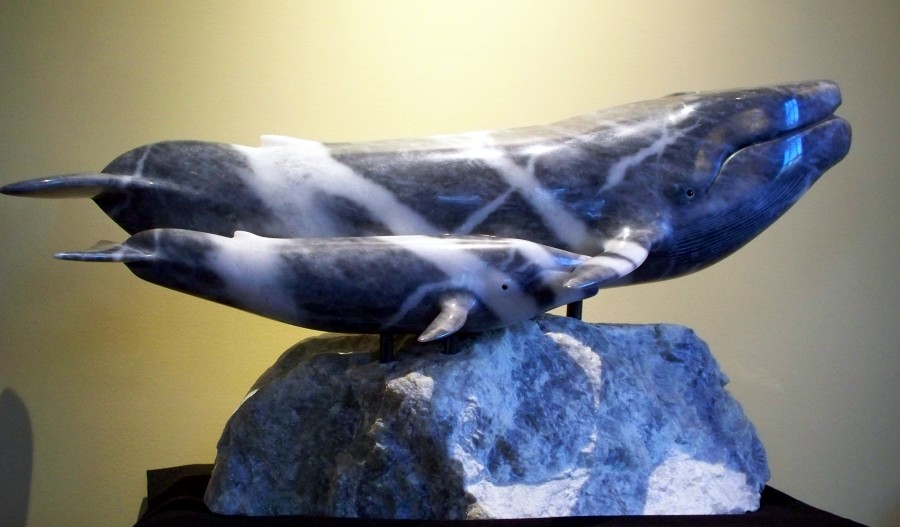
Guest artist/author: Jason Nelson is an award wining artist that specializes in carving fine art sculpture and bowls are carved in many types of stone including jade, marble, alabaster, pyrophyllite and soapstone. His favorite subjects include marine-life, figurative and symbolic sculpture.
Wow, thank you Jason for such an informative post! I really enjoyed it and learned a lot about the sculpting process, and I know my readers will too. To learn more about Jason, please visit the links below.
http://www.thestonesculptor.com
http://twitter.com/StoneSculptorJN
http://www.facebook.com/TheStoneSculptorJPNelson
http://www.linkedin.com/in/stonesculptor
PS. Let’s meet on Twitter, and on Google Plus, Pinterest, and join in the fun at Fine Art Tips Facebook Fan Page! Please checkout my art too LoriMcNee.com, or find me on Instagram lorimcneeartist. ~Lori



Grande, grande, grande!!! Artista nata, con grandi doti e qualità.
Thank you Glanni!
Lori
Hi. I am blind, and always wanted to learn to sculpt. This year I got a chance. I went to a free class at the Washington School for the Blind.
Anyway, I was planning to make a raven or crow. But the teacher looked at it at one point. And said: It looks like a penguin.
So, a penguin it was.
Everybody liked it. I left its back a little rougher than its front.
But now, and this is where I need your help. Ha ha.
I got a graduation gift, from my friends. They gave me another stone. A rough soapstone.
It almost looks like some kind of animal lying down. And they agreed.
But, for the life of me, I can’t figure out what it is!!!
The problem is, is that I’m not sure if there is enough stone to make any ears, sticking up, like maybe a fox, cat, lioness, cow, etc.
I would attach a picture, if I could, but, if you could just give me some tips to start, it would be great.
Thank you!
Hello Dewald, I am so happy to receive your unique comment. I am not the author of this guest post, but I will forward your question onto Jason, the guest author. I would love to see some examples of your sculpture and learn more about how you are creating even though you are blind. Do you use taxidermy animals as reference?
Many thanks and I will pass your question over to Jason.
Happy sculpting,
Lori 🙂
I liked your tip to make sure that you have all of the equipment and safety gear that you need to start your sculpture. You also mentioned that some of those tools are mallets and chisels. I think it’s a good idea to have your sculpture completely planned out before you start.
Hello Cindy, I am obviously waaay behind on comments. Thank so much for sharing your thoughts. I do agree with you about planning.